
With the Office 2010 screen shot feature, you can easily take a picture of a window and insert it into your document. This feature is available in Microsoft Word, Excel, and PowerPoint. Once a screen shot is in your document, you can move it, resize it, and use any of the Picture tools on it. You can use Picture tools to do such things as add Artistic Effects, apply a picture layout, or remove a background. If you only want a portion of a window, you can use the Office 2010 Screen Clipping option to clip the portion you want and place only that portion in your document.
![]() Tip: You can also add a screen shot to a document by using the PrtScr button. Move to the window whose picture you want to shoot. Press Shift+PrtScr or Fn+PrtScr, depending on your computer. Your computer copies the window. Place your cursor at the location where you want to place the screen shot and then click the Paste button to paste the screen shot in your document. Office pastes your screen shot. When you click on the pasted screen shot, the Picture tools become available. If you only want a portion of the screen shot, you can crop it.
Tip: You can also add a screen shot to a document by using the PrtScr button. Move to the window whose picture you want to shoot. Press Shift+PrtScr or Fn+PrtScr, depending on your computer. Your computer copies the window. Place your cursor at the location where you want to place the screen shot and then click the Paste button to paste the screen shot in your document. Office pastes your screen shot. When you click on the pasted screen shot, the Picture tools become available. If you only want a portion of the screen shot, you can crop it.
How to Capture a Screen Shot
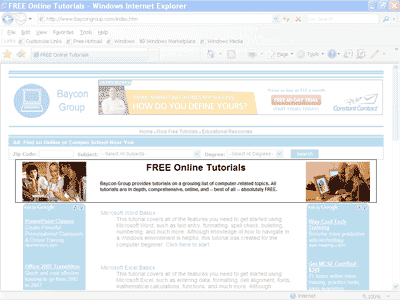
An Open Window
- Maximize the window you want to shoot.
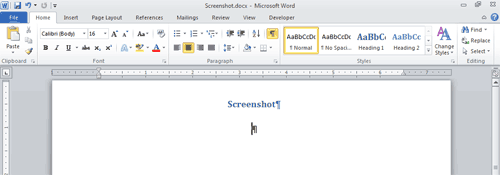
A Document with a Cursor at the Insert Location
- Place your cursor at the point in your document where you want to insert the screen shot.
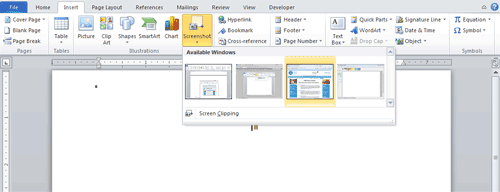
- Activate the Insert tab.
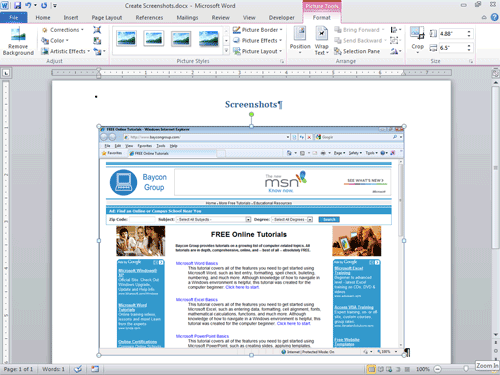
- Click the down-arrow under Screenshot in the Illustrations group. A list of available windows appears.
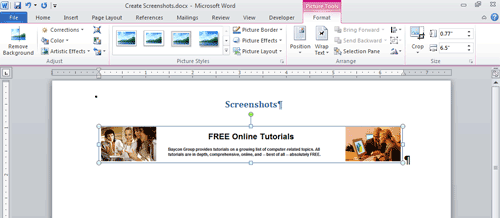
- Click the window you want. A screen shot of the window appears in your document and the Picture tools become available.
How to Insert a Clipping
- Make sure the window you want to clip is the only window other than your document window that is maximized.
- Place your cursor at the point at which you want to insert the screen shot.
- Activate the Insert tab.
- Click the down-arrow next to Screenshot in the Illustrations group. A list of available windows appears.
- Click Screen Clipping. Microsoft Office moves to the open window and your cursor changes to a cross hair.
A Portion of a Window Selected
- Click and drag to select the portion of the window you want.
- Release the mouse button. Office puts your selection in your document.
The Selected Portion of a Window in a Document